How to Create the Ultimate Lemonade Stand for Your Kids This Summer
This site contains affiliate links and is a member of the Amazon Services LLC Associates Program, which means I’ll receive a commission if you purchase through my links, at no extra cost to you. Please read full disclosure for more information.
A lemonade stand is so much more than a little table selling juice. It’s a chance to connect with your neighbors, create lasting family memories, and discover joy in something as simple as squeezing lemons together.
I’ve always dreamed of creating meaningful family traditions, and now that our final family member has officially arrived (welcome, baby Luca!), this felt like the perfect summer to start an annual lemonade stand tradition.
If you’ve been wondering how to create traditions your kids will remember for years to come, a lemonade stand is one of the easiest, and most memorable, summer activities you can do together.
I’ve done all the trial and error for you, figuring out what’s worth buying, what you can skip, and how to make the entire experience run smoothly from setup to cleanup.
Consider this your ultimate guide to creating your family’s newest summer tradition: a lemonade stand.
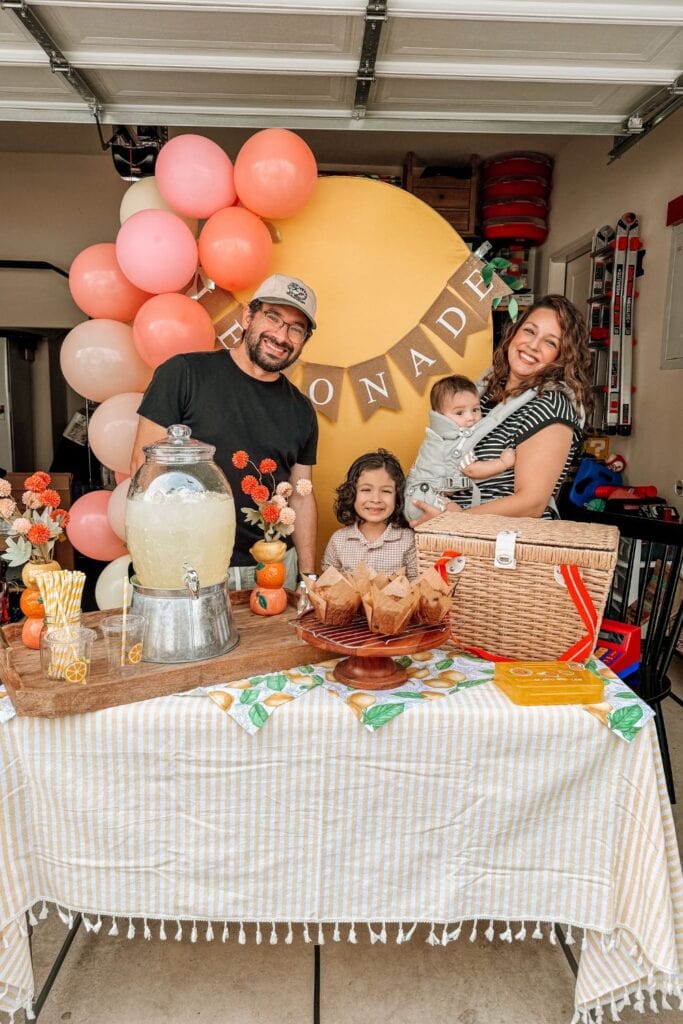
Lemonade Stand Supplies
When it comes to supplies, I want to make sure I call out what’s actually necessary (the bare minimum) so you can decide what works best for your family’s budget.
I added quite a few decorative extras because, well, have you met me? No, you haven’t, this is the internet. The point is, I love going all in. Well, as all in as our budget allows.
You can shop the full list of supplies below or here: Lemonade Stand Supplies
The Must-Haves
- Table
- Cups
- Lemonade (This simple lemonade recipe is my go-to, but you can also purchase pre-made lemonade if time isn’t on your side.)
- Signage
- Drink dispenser
- Ice
- Ice scoop
- Cooler or ice bucket
- Cash (to make change)
- Digital payment option
Decorative Items (Optional)
- Backdrop for cute photos with customers
- Cute tablecloth
- Decorative trays
- Upgraded drink dispenser
- Balloons
- Tip jar
Fun Add-Ons
- Flavored syrups
- Baked goods
Lemonade Stand Prep
- Start ordering and shopping for supplies as soon as possible to reduce stress.
- Have everything purchased at least one week before your lemonade stand date.
- Prepare as much as you can the night before.
The Night Before
- Set up the table
- Inflate and arrange your balloon arch
- Build backdrops and display signs
- Wash and dry your drink dispenser, cooler, and ice scoop
Lemonade Stand Invitations
Just because you build it doesn’t mean they will come! I highly recommend sending digital invitations to friends and family with at least two weeks’ notice.
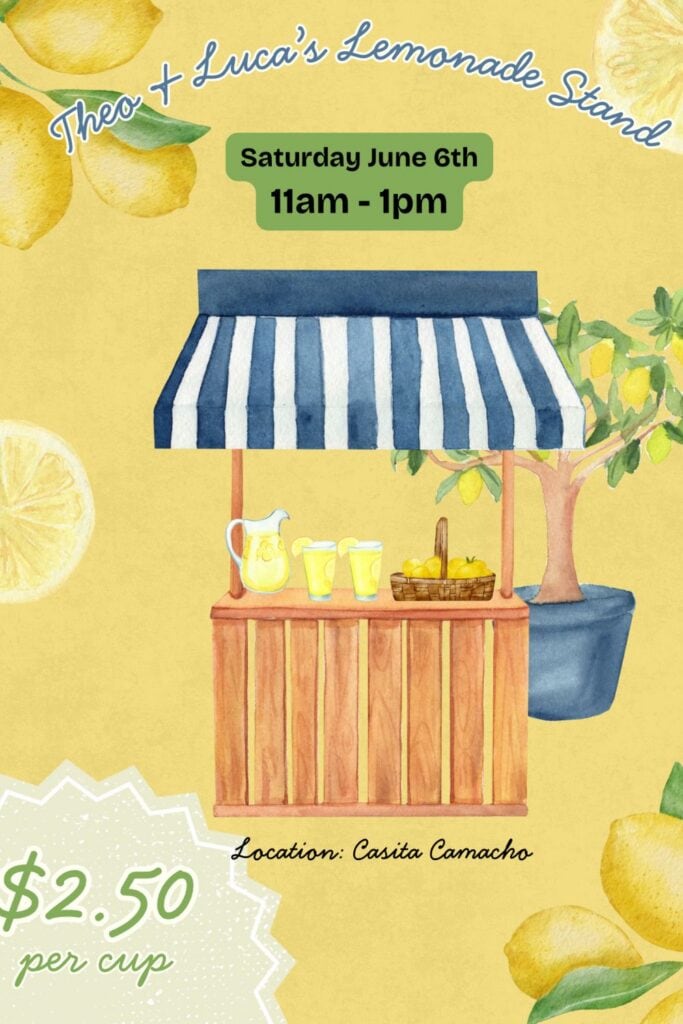
What to Include on the Invitation
- Date
- Time
- Location
Be as specific as possible. For example:
- On the corner of Main Street and Olive Street
- On the sidewalk in front of our house
- In our driveway
What to Do the Day of the Lemonade Stand
The only thing left to do on the morning of your lemonade stand should be making the lemonade (unless you purchased it) and picking up ice.
About 30 minutes before opening time, start carrying your setup from the garage to the curb or wherever you plan to host your stand.
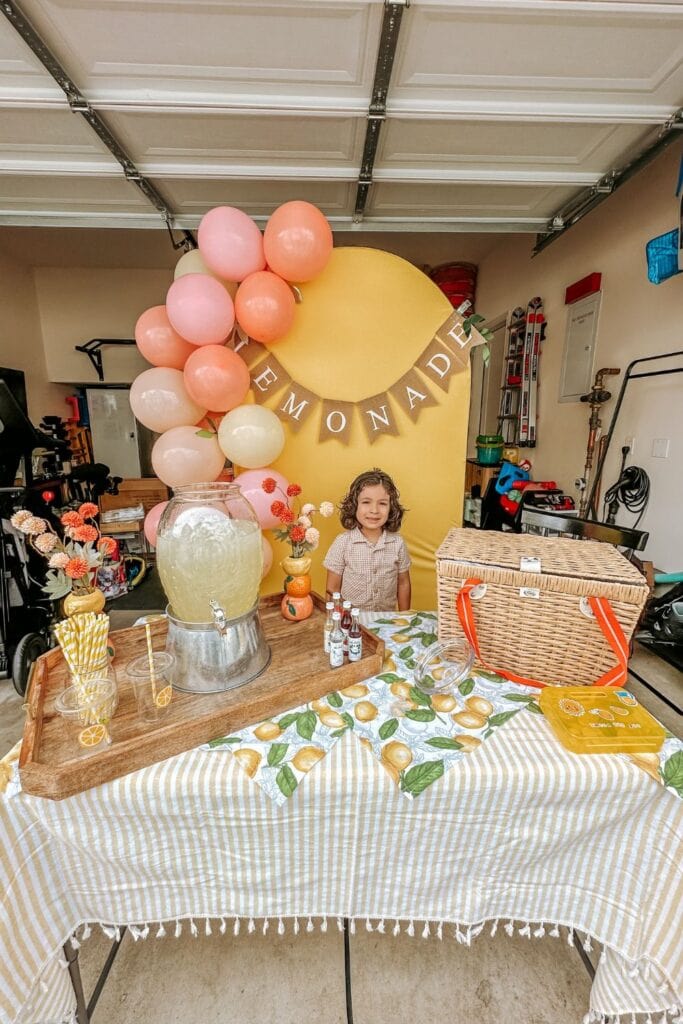
We actually hosted ours at the entrance of our garage since it was mostly for family, friends, and neighbors.
Even if you’re opening your stand up to strangers, a garage setup offers shade and access to power on a hot summer day, which can make the experience much more enjoyable.
How Much Should You Charge for Lemonade?
Keep it simple.
- Small cup: $1–$2
- Large cup: $2–$3
- Lemonade with flavored syrup: $3–$4
- Baked goods: $1–$3 each
Remember, most people aren’t buying lemonade because they’re thirsty. They’re buying it because they want to support your kids and be part of the memory.
Lemonade Stand Safety Tips
- Always have an adult nearby.
- Choose a location with good visibility and low traffic.
- Keep cash in a secure container.
- Provide shade and plenty of water for your family.
- Have sunscreen available if you’ll be outside for an extended period.
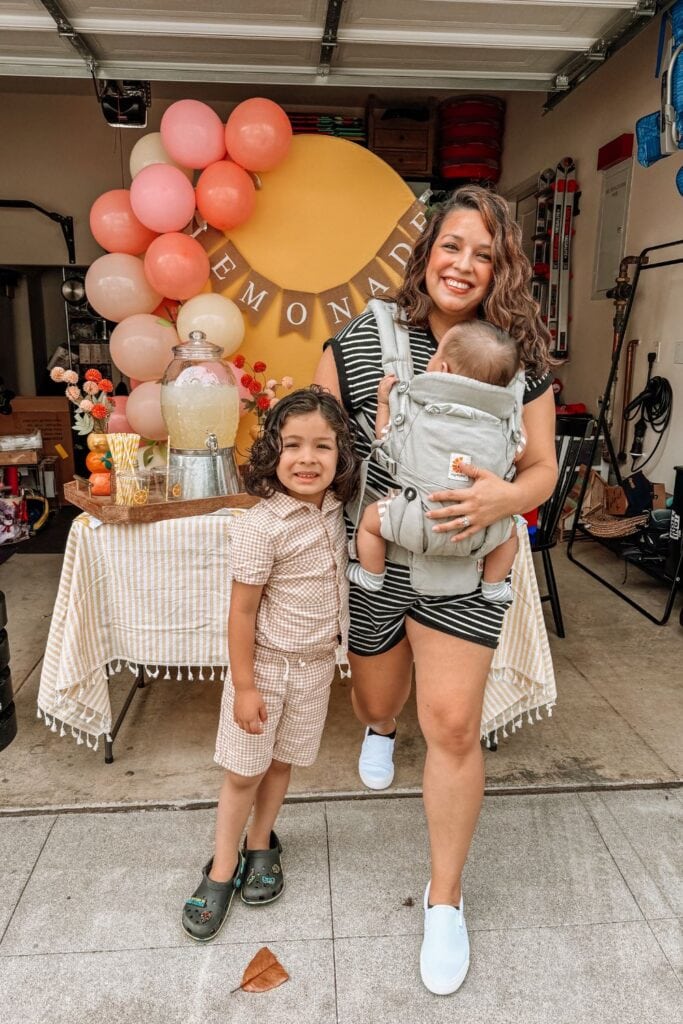
How to Capture Your First Lemonade Stand Memory
I’m a big believer in capturing everything so you can look back one day and relive those special moments through photos and videos.
Here’s a simple shot list to help you know what to capture before getting back to living in the moment.
Photos
- The lemonade stand supplies
- Putting together the lemonade stand the night before
- The finished lemonade stand
- A family photo with the lemonade stand
- Your kids with their lemonade stand
- One photo of every family member or friend who comes to support your stand
- An end-of-day photo
Videos
- A mom confessional sharing how setup is going
- A family clip of everyone sharing how they’re feeling about the big day
- A quick clip of the finished lemonade stand
- Short clips of everyone waving to the camera from the lemonade stand (including family and guests)
Here’s how our video turned out:
Lemonade Stand Cleanup
Thankfully, cleanup is the easiest part.
If everyone helps out, the entire process should take about 30 minutes.
Be sure to save any leftover lemonade and enjoy it over the next day or two.
Extra Goodies for Your Lemonade Stand
Want to make your stand even more fun?
Try adding:
- Muffins
- Cookies
- Rice Krispie Treats
Final Thoughts
Whether you’re keeping it simple with a folding table and a pitcher of lemonade or going all out with balloons and backdrops, what your kids will remember most is the time spent together.
Here’s to creating sweet summer memories, one cup of lemonade at a time.
More Summer Inspiration
If you’re looking for more summer inspiration, you’ll love these posts: